ServiceNow
CloudCADI integrates with ServiceNow to send recommendations directly to your engineering team as tickets, using a single action button.
Step 1 - Configure ServiceNow
-
If you don't have an existing app, create a new one in ServiceNow.
-
Create a table with the following columns. If you already have an app and table, ensure these columns are added to your existing table.
- resource_name
- short_description
- state
- description
- user_id
- data_source
- data_source_id
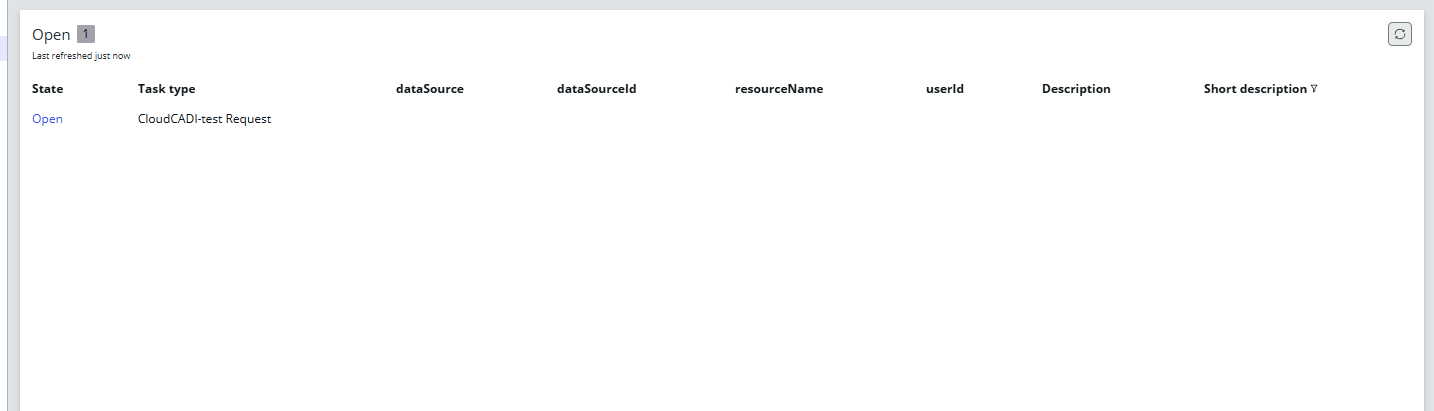
Use the REST API Explorer to insert or retrieve data
-
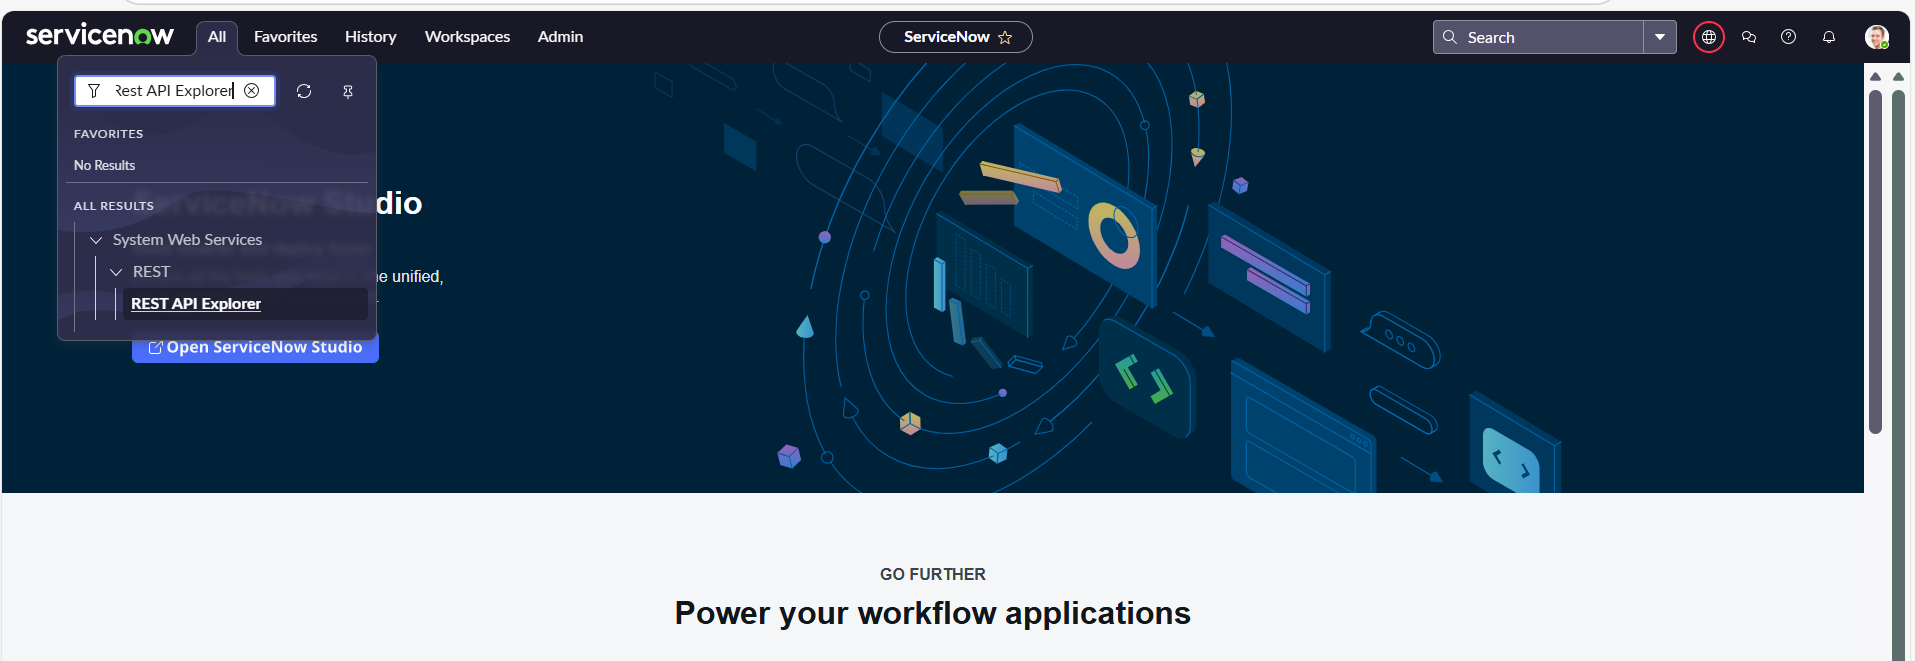
Open the REST API Explorer in ServiceNow.
-
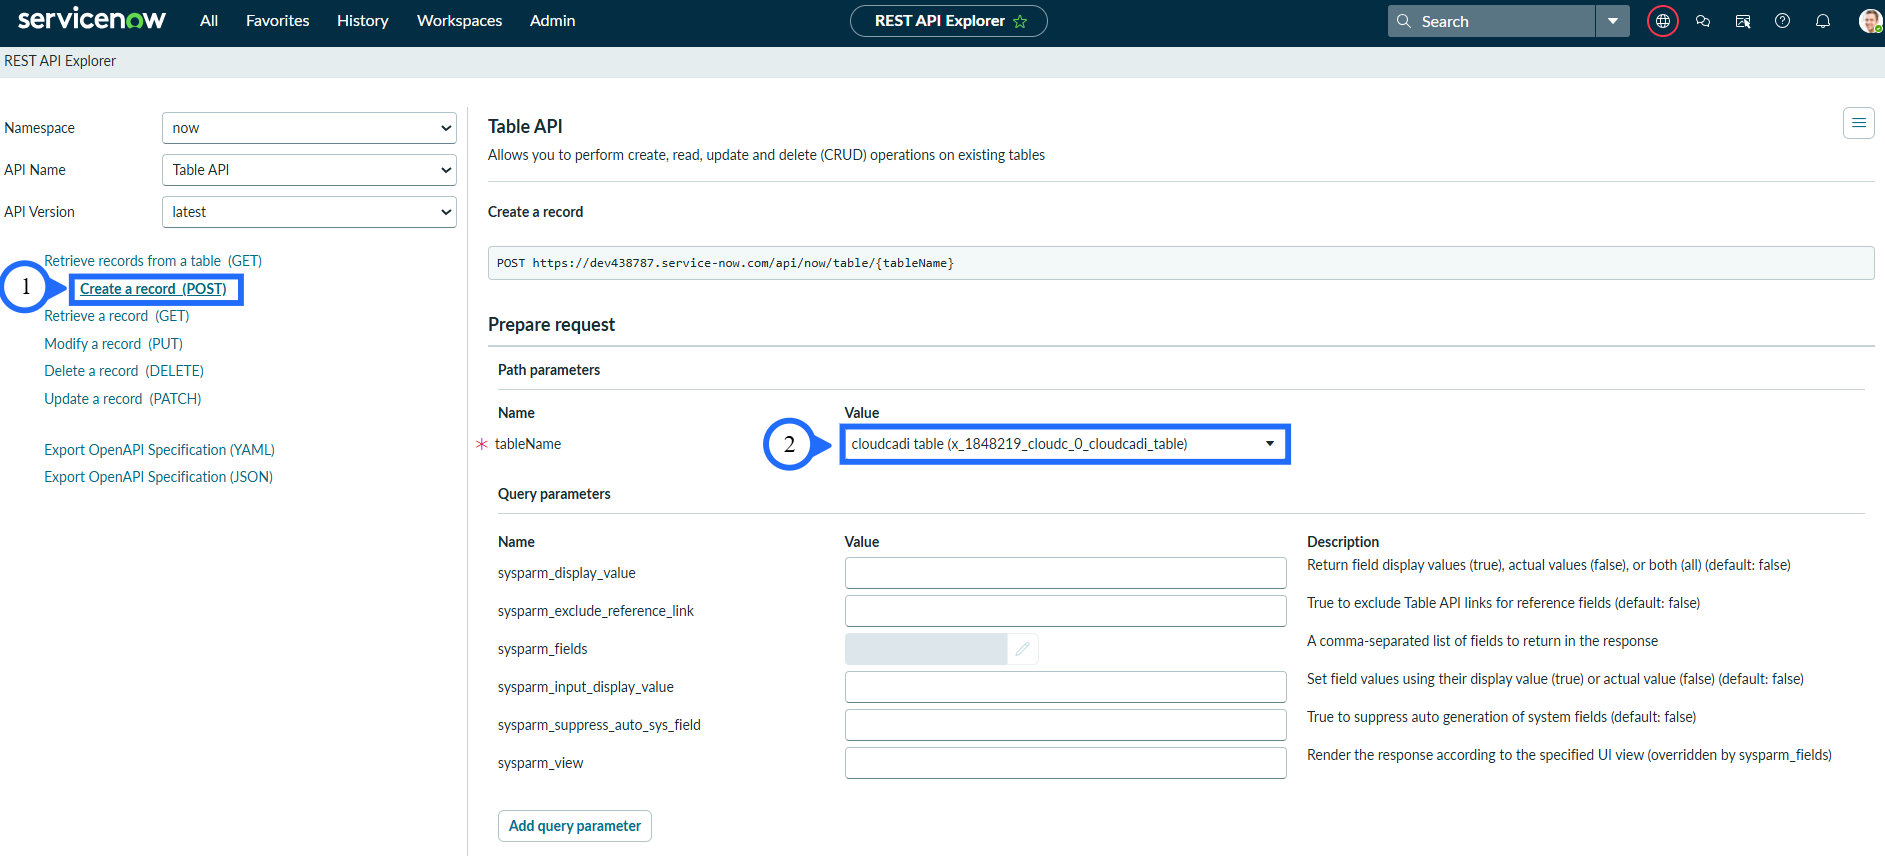
Click Create a record (POST) and select the table you created, or select an existing table.
-
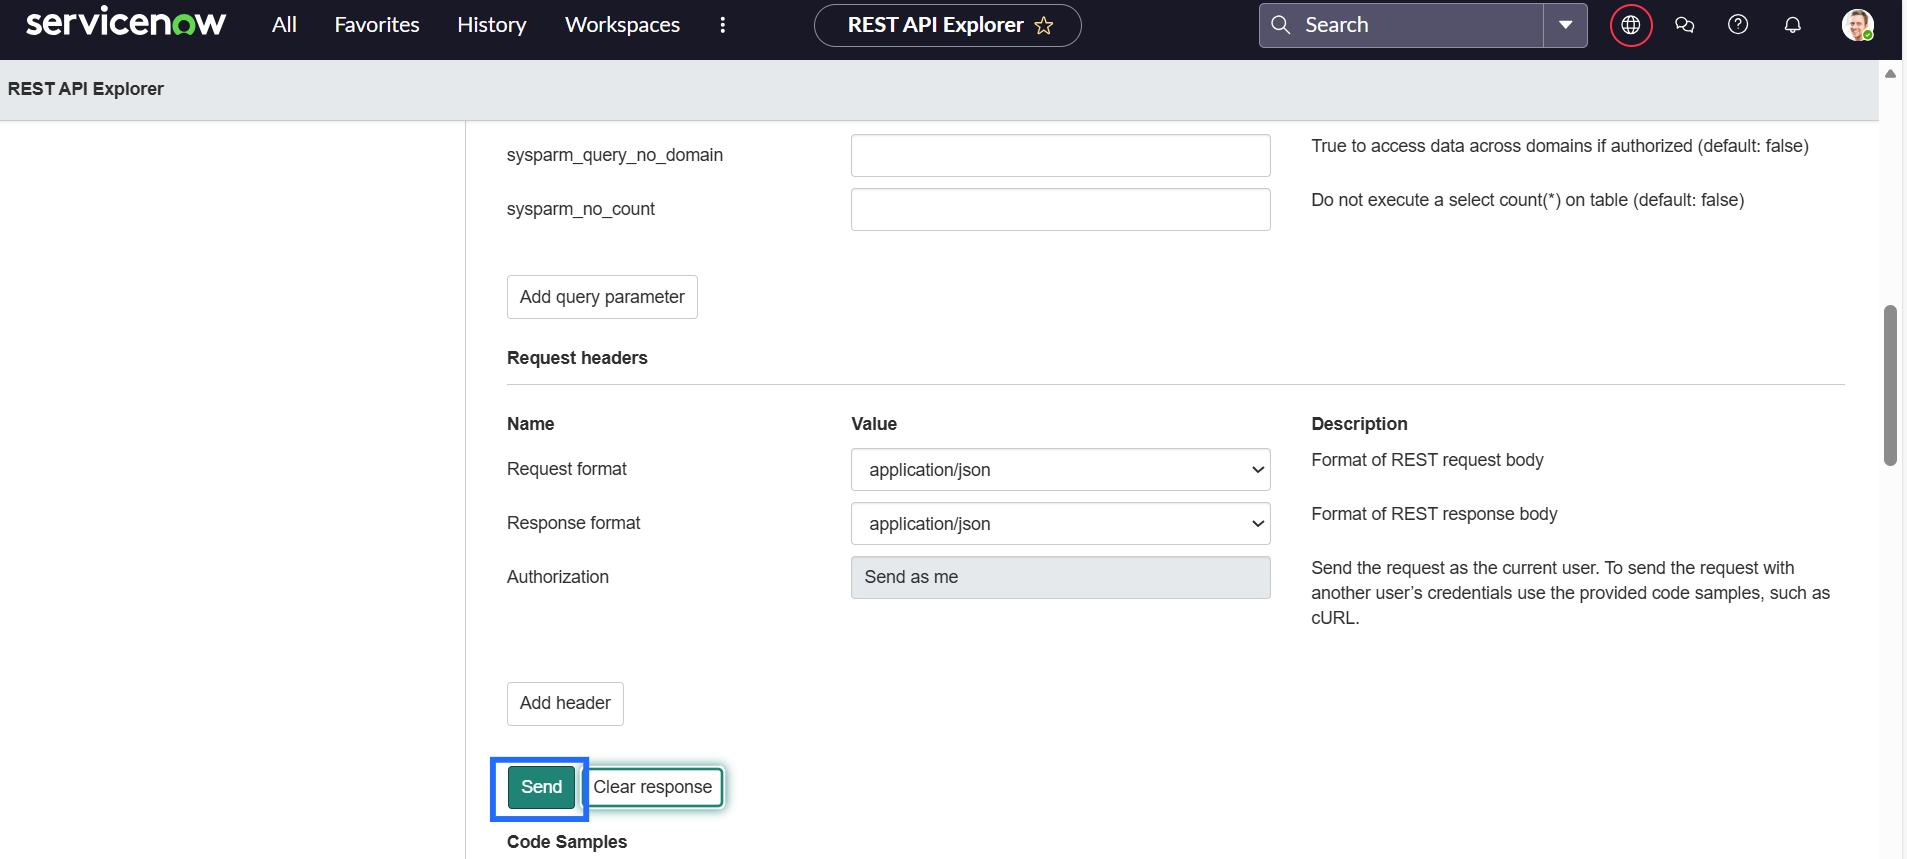
Click Send to submit the request.
-
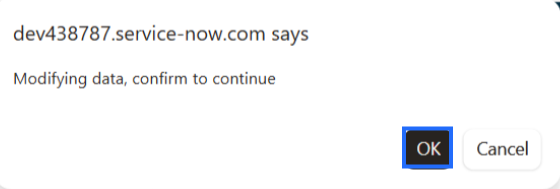
A popup will appear. Click OK to continue.
-
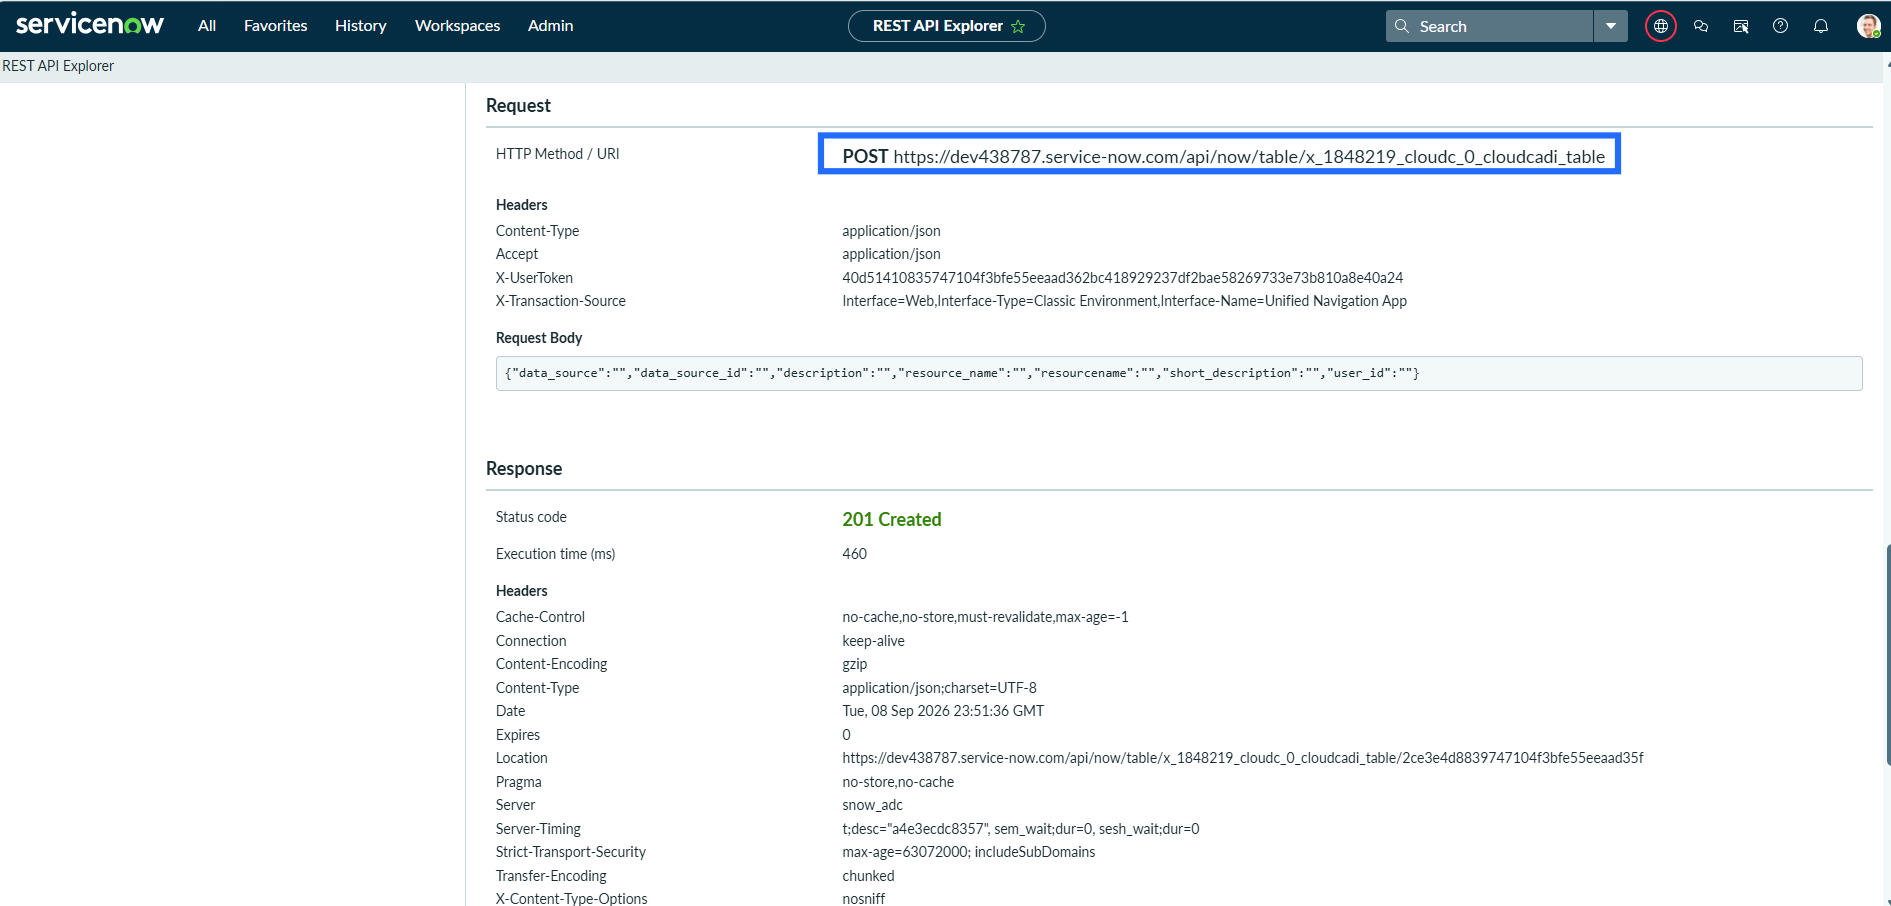
You will receive a response containing the URL. Copy the generated POST URL for further use.
Step 2 - Configure CloudCADI
-
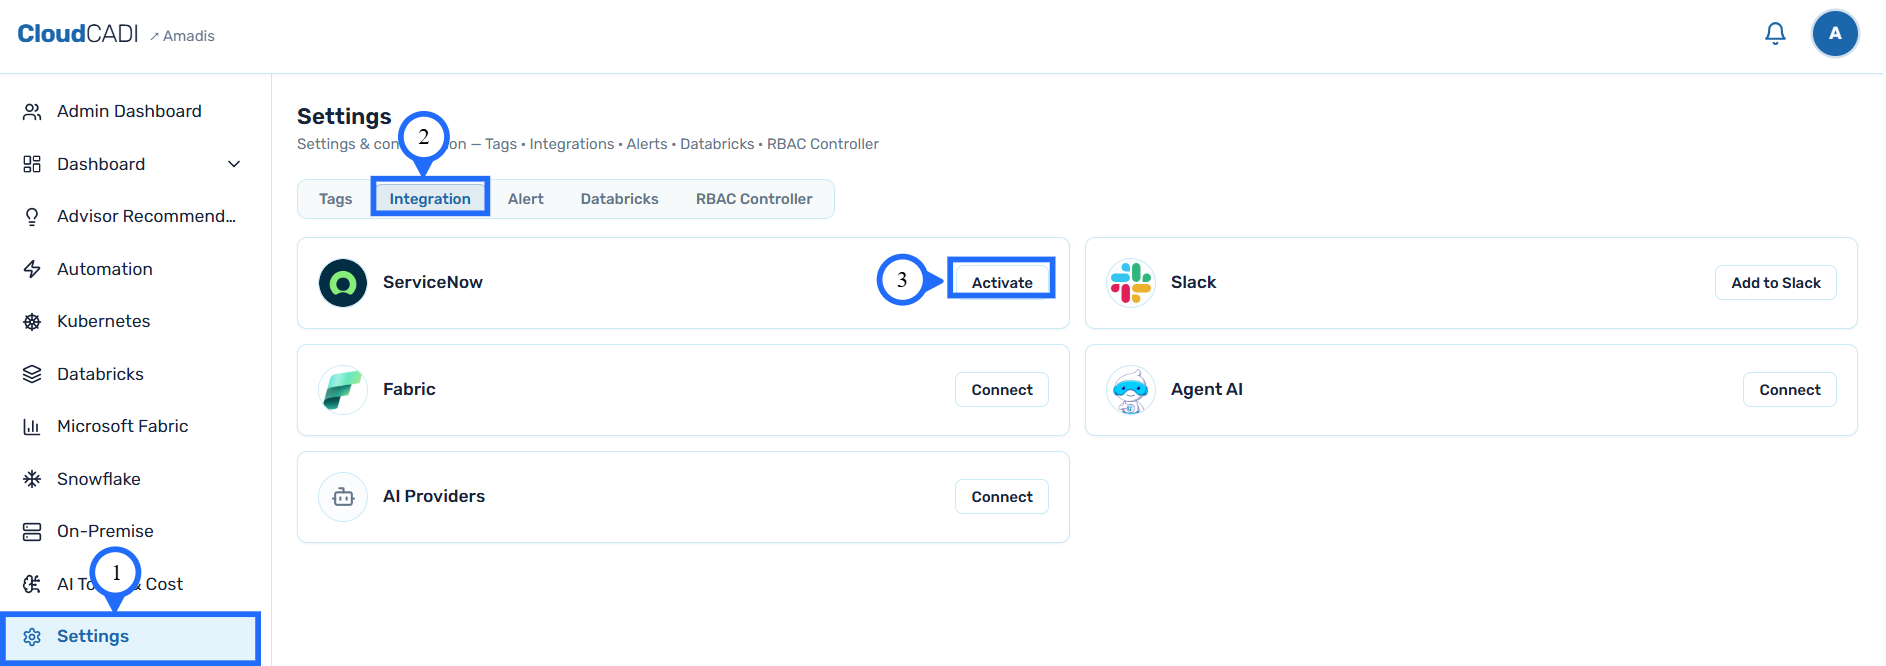
To integrate ServiceNow, navigate to Settings, select Integrations, and click Activate.
-
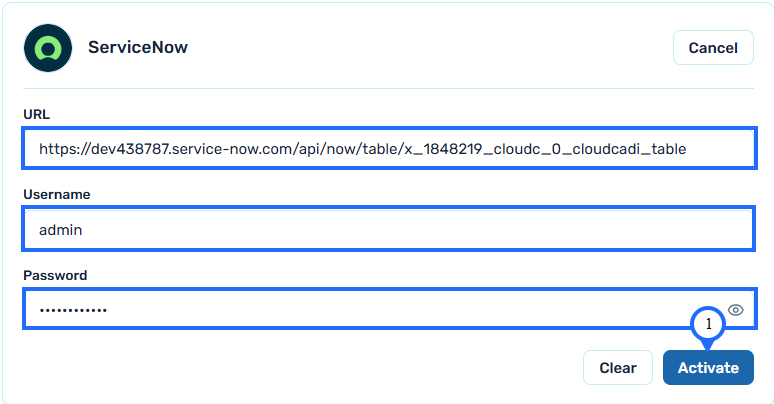
Enter the URL you received from the POST method request.
-
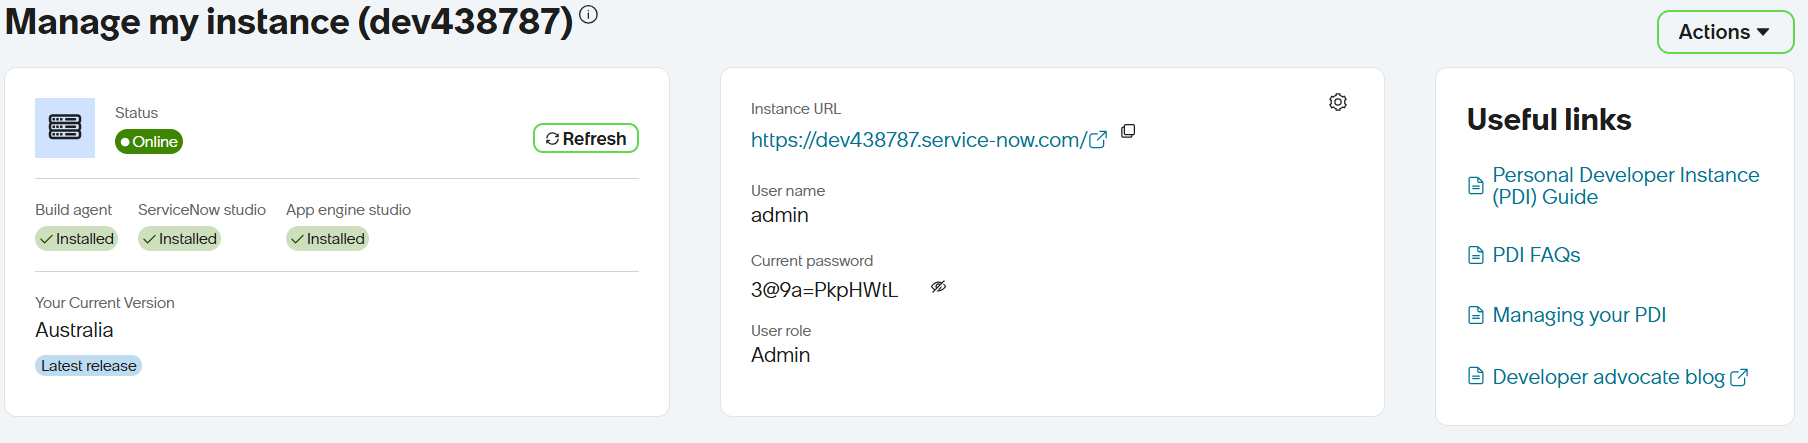
Provide the Username and Password received from ServiceNow. If you have forgotten your credentials, visit the ServiceNow Developer website, click your profile icon, and select Manage Instance Password to retrieve your credentials.
-
Enter the URL, Username, and Password, then click Activate.
-
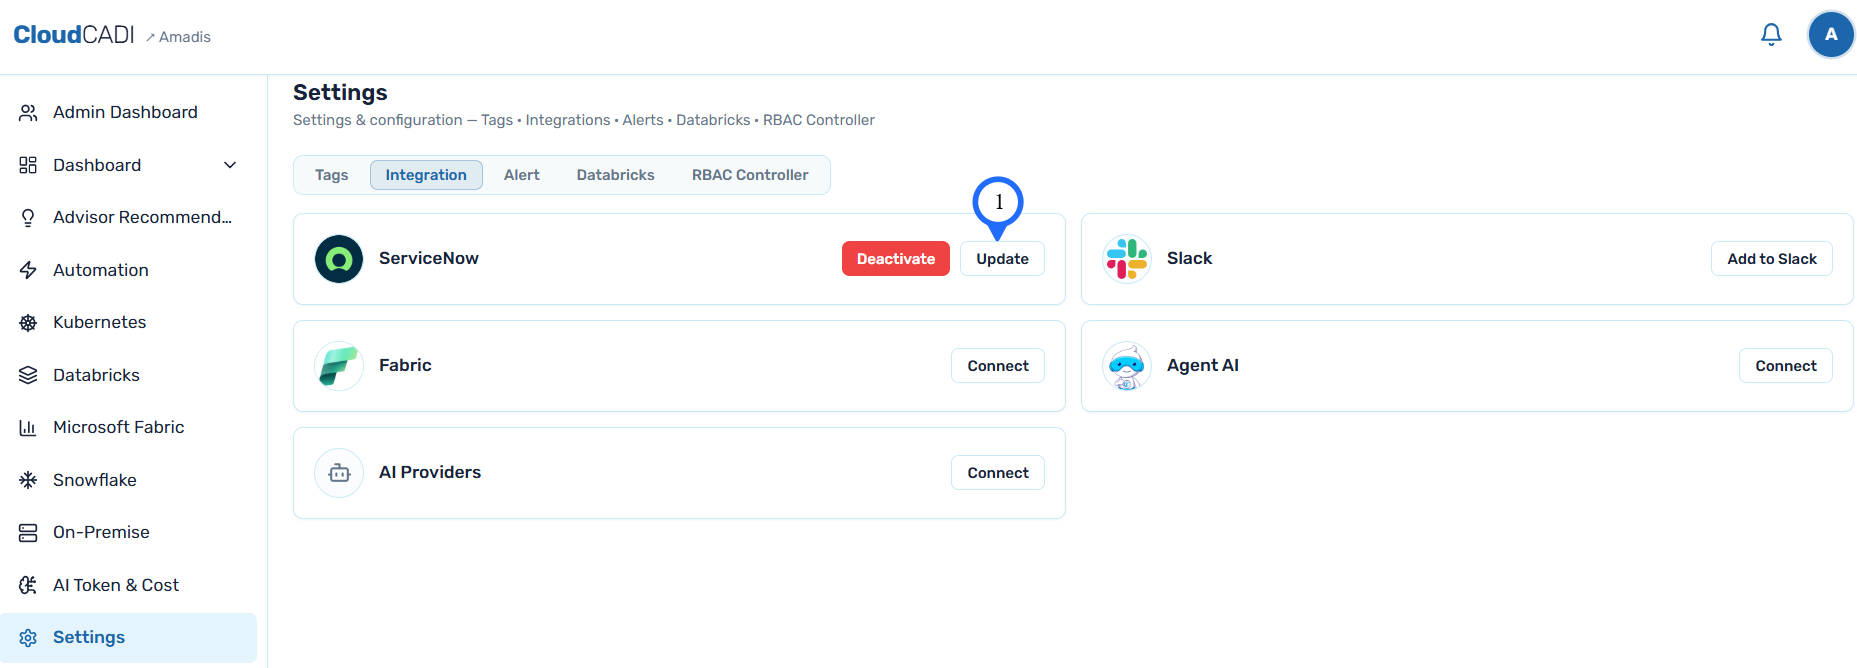
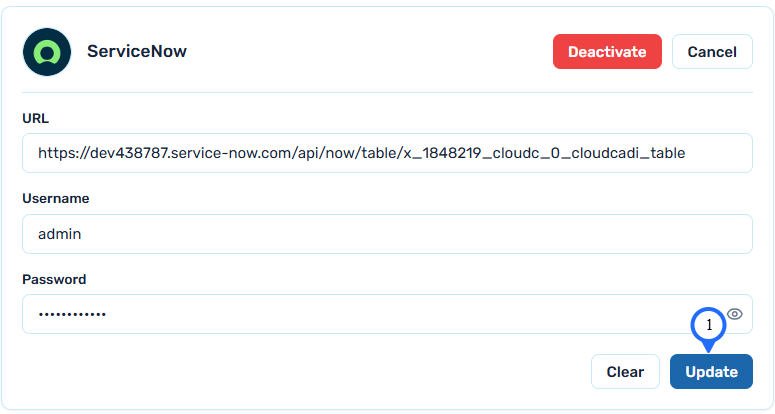
To update the details, click Update, enter the new details, and click Update again.
-
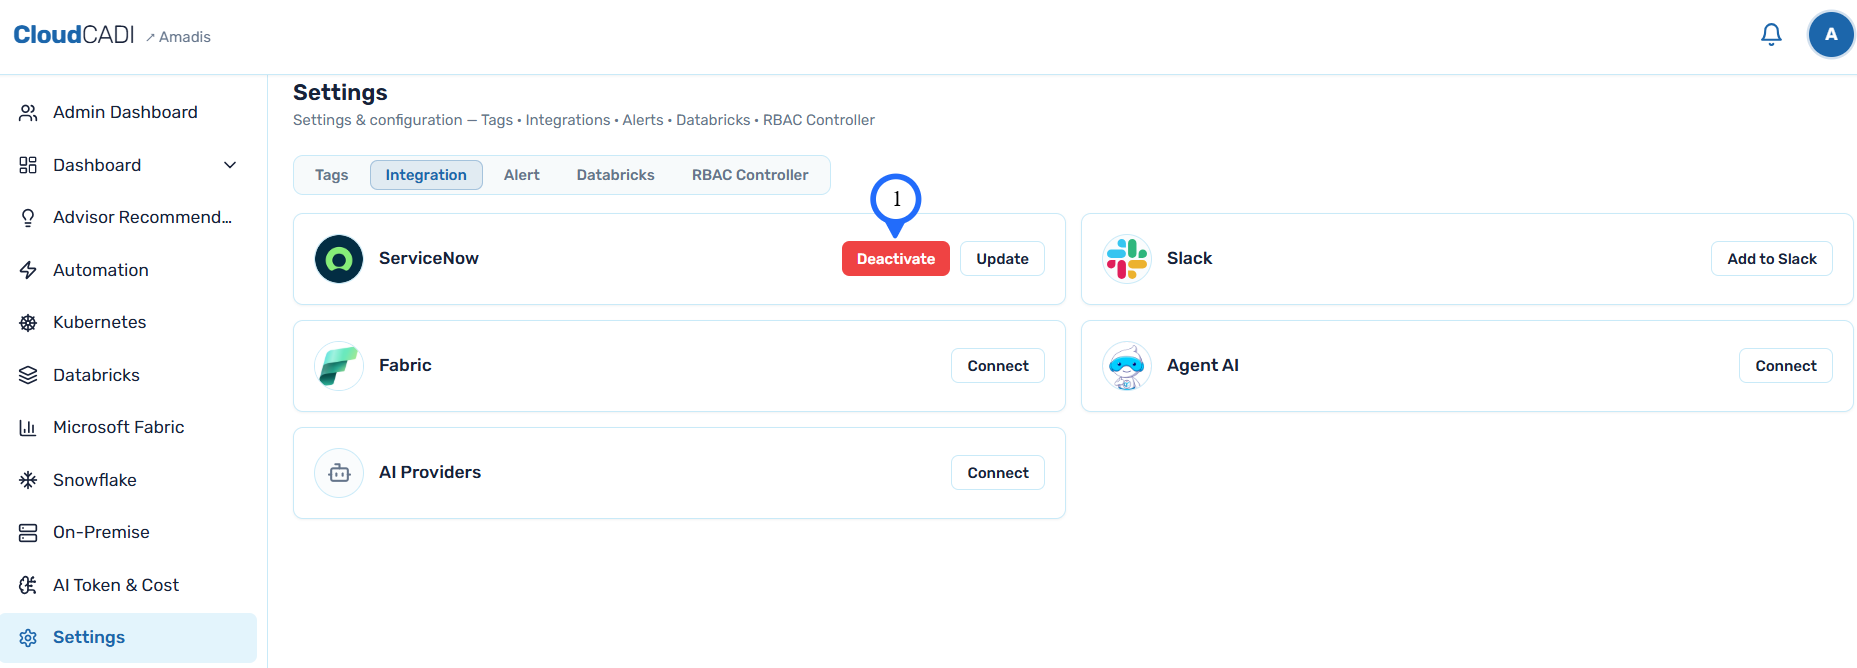
To deactivate the integration, click Deactivate.
-
To verify the ServiceNow integration, go to the CloudCADI Recommendation page and click Create Ticket.
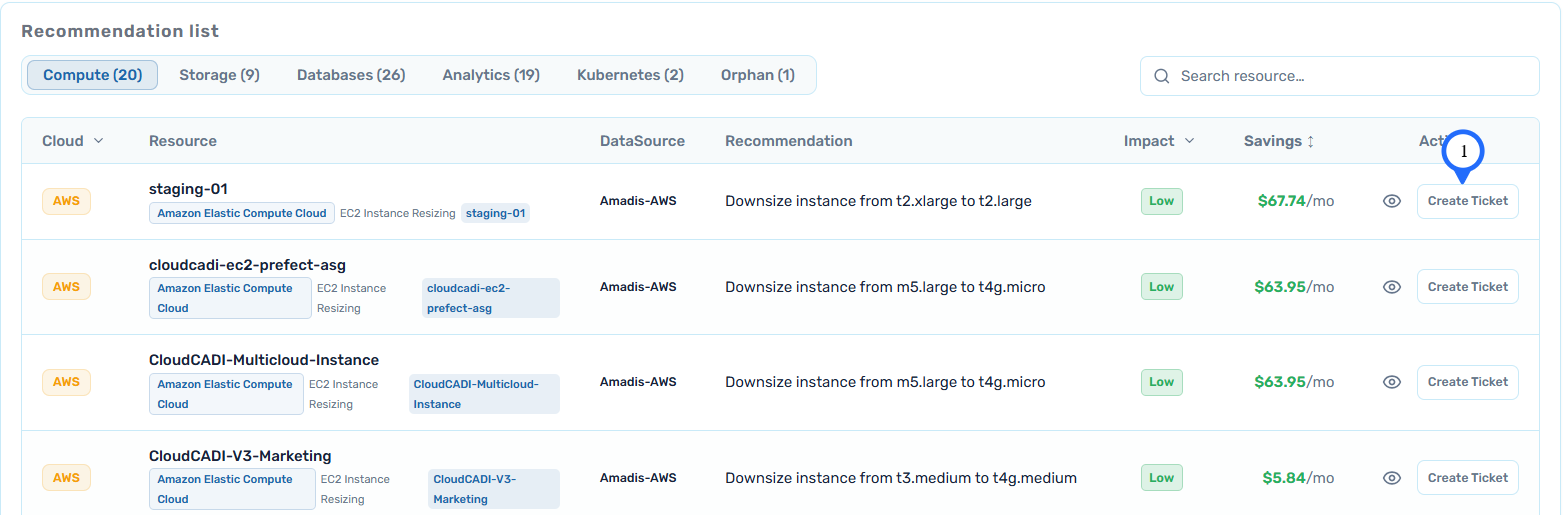
-
A confirmation popup will appear indicating that a ticket has been created.
-
The data is now sent to the corresponding table in ServiceNow.
